How to Choose the Right Emergency Lights?
Choosing the right Emergency Lights is a safety decision, not merely a purchasing decision. The fitting must guide people through darkness, smoke, power failure, and confusion. A bright product may still create poor visibility if its beam leaves stair edges or exit routes shaded. That detail matters.
Emergency-lighting specialist John Bullock offers a practical reminder: “A fitting is only as dependable as its last test.” His point deserves attention. Battery condition, charging time, illumination duration, mounting height, and viewing distance all affect real performance. A product that looks impressive in a showroom may fail beside a dusty warehouse door or above a narrow stairwell.
The selection process should begin with the space itself. Measure corridors, identify changes in floor level, and note areas with limited natural light. Consider maintained or non-maintained operation, LED efficiency, battery replacement, and visible status indicators. Check whether the light creates glare, especially near reflective walls or polished floors. Small mistakes can become serious obstacles.
Quality documentation also matters. Look for clear technical data, installation guidance, test procedures, and evidence of suitable product testing. Do not rely on lumen numbers alone. They can simplify a complicated decision.
There is no perfect choice for every building. Sometimes, a lower-output fitting with better optics performs more effectively. That is easy to overlook. Careful review, realistic testing, and regular maintenance help turn Emergency Lights from passive equipment into dependable guidance when normal lighting disappears.
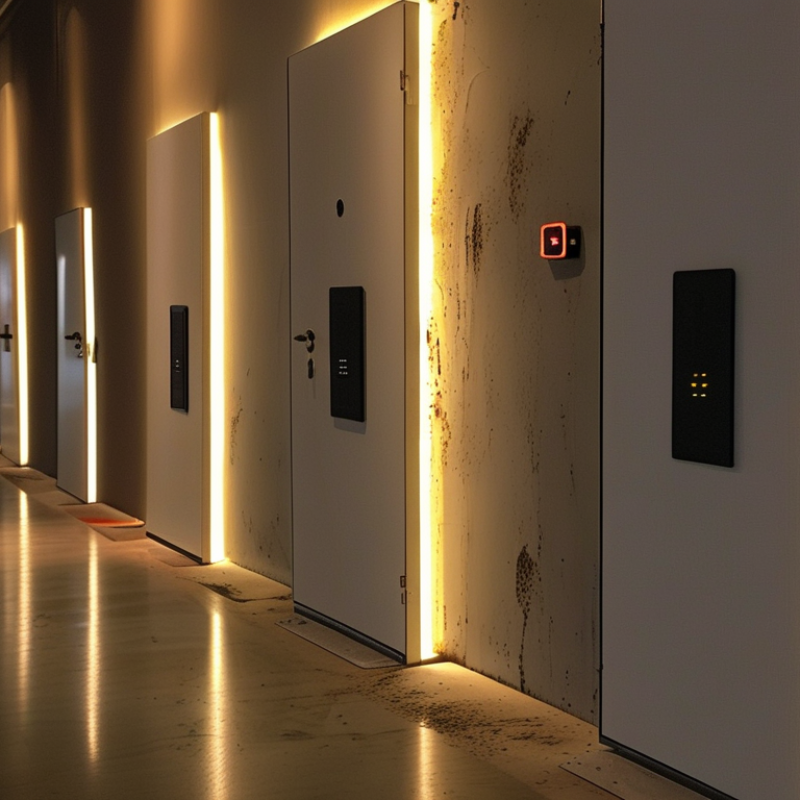
What Emergency Lights Are and Where They Are Used
How to Choose the Right Emergency Lights?
What Emergency Lights Are and Where They Are Used
Emergency lights are battery-powered fixtures that operate when normal electricity fails. They help people see hazards and locate safe exit routes. Some remain illuminated during normal operation. Others activate only during an outage. Exit signs use dedicated symbols or lettering to mark doors and escape paths.
They are commonly installed in corridors, stairwells, lobbies, classrooms, workplaces, hotels, hospitals, warehouses, and parking areas. A dark stair landing can cause panic within seconds. A bright fixture near an exit is useful, but spacing matters more than appearance. Visibility matters. Light must reach changes in level, doorways, fire equipment, and route intersections. Outdoor units need protection from rain, dust, and temperature changes.
Choosing a suitable unit requires more than checking brightness. Review the battery duration, beam distribution, mounting height, charging indicator, and test function. Match the fixture to the room’s heat, moisture, and dust conditions. A narrow beam may leave a long corridor dim. A wide beam can waste light in a small storage room. I once trusted a quick visual check and missed a weak battery. That mistake changed my inspection routine. Check every fixture. Test units regularly, record failures, and replace damaged covers promptly. Local safety requirements should guide final placement and maintenance decisions.
Which Emergency Light Type Fits Each Location
How to Choose the Right Emergency Lights?
Which Emergency Light Type Fits Each Location
Choosing an emergency light starts with the location, not the fixture’s appearance. In office corridors, compact maintained lights can guide people toward exits during a power failure. Install them above doors, junctions, and changes in direction. Keep the beam clear of signs, shelves, and decorative panels.
Stairs need more. Use focused emergency units on each landing and near the first and last steps. Their light should reduce shadows without creating glare. In open warehouses, wide-area fittings work better than narrow beams. Mount them above aisles, loading points, and marked escape routes. I have seen layouts fail because tall storage racks blocked low-mounted lights.
Moisture changes everything. Parking areas, plant rooms, and outdoor paths require weather-resistant housings with suitable ingress protection. In bathrooms or wash-down zones, choose fittings designed for damp conditions. For sleeping areas, a non-maintained unit may reduce unnecessary brightness, while shared residential corridors often need maintained visibility. Check battery duration, charging indicators, mounting height, and test access before installation. A light can be technically compliant yet poorly positioned.
Walk through the building after dark. A practical inspection often reveals blind corners that drawings miss. Recheck illumination after furniture, partitions, or stock changes. The best choice may not be the brightest one; it should provide even, dependable guidance for the people using that space. Always confirm the final layout against current local safety requirements and have qualified personnel test it regularly.
How to Compare Brightness, Battery Life, and Power Options
How to Choose the Right Emergency Lights?
Brightness should match the space, not just the number printed on the package. A small hallway may need 100 to 300 lumens, while a large workshop may require more. Lumens measure total light, but beam shape matters too. A narrow beam reaches farther. A wide beam reduces dark corners. Check both before buying.
Battery life depends on brightness, temperature, battery age, and charging habits. A light rated for twelve hours may last much less on its highest setting. I test emergency lights for several nights, using the same brightness each time. I also check whether the battery remains usable after repeated charging. Short tests can be misleading. They once fooled me.
Power options affect reliability during a long outage. Rechargeable models are convenient when electricity returns regularly. Replaceable batteries can be useful when charging is unavailable. Some lights accept USB charging, solar charging, or manual cranking. Each option has weaknesses. Solar charging needs direct sunlight, while hand cranking takes effort. Keep the light fully charged, then test it monthly in a dark room. Look for a clear charge indicator, a stable switch, and a housing that feels secure. A bright light with poor controls can still fail when your hands are cold.
How to Choose the Right Emergency Lights? - How to Compare Brightness, Battery Life, and Power Options
A practical comparison of common emergency-light configurations. Specifications are typical ranges for consumer and light-duty emergency lighting products.
| Light Configuration | Typical Brightness | Typical Runtime | Battery Type | Recharge Time | Power Options | Best Use |
| Compact battery lantern | 100–300 lumens | 8–40 hours, depending on brightness setting | 3–6 disposable AA or D alkaline batteries | Not rechargeable unless rechargeable cells are used separately | Disposable batteries | Short power outages, bedside use, and basic area illumination |
| Rechargeable LED lantern | 200–600 lumens | 4–60 hours, depending on mode and battery capacity | Lithium-ion or lithium-polymer battery, commonly 2,000–10,000 mAh | Approximately 3–8 hours | USB-C or proprietary mains charger | Repeated use at home, travel, and emergency kits |
| High-output rechargeable area light | 800–2,000 lumens | 2–12 hours, depending on output level | Large lithium-ion battery, commonly 5,000–20,000 mAh | Approximately 4–10 hours | AC charging and often USB power-bank output | Large rooms, workshops, outdoor work, and evacuation areas |
| Dual-power emergency lamp | 150–500 lumens | 3–30 hours on battery; continuous operation while mains-powered | Sealed lead-acid or lithium rechargeable battery | Approximately 8–16 hours for lead-acid; 3–8 hours for lithium | AC mains with automatic battery backup | Fixed locations that need automatic backup during outages |
| Solar emergency lantern | 50–300 lumens | 4–24 hours after a full charge, depending on brightness | Rechargeable lithium-ion or nickel-metal hydride battery | Approximately 6–12 hours in direct sunlight; USB charging is usually faster | Solar panel, USB, and sometimes hand crank | Off-grid locations and extended outages with outdoor charging access |
| Plug-in emergency night light | 10–100 lumens | Typically 1–6 hours during an outage | Small rechargeable nickel-metal hydride or lithium battery | Approximately 8–24 hours | Wall outlet with automatic charging | Hallways, bedrooms, stairways, and low-level guidance lighting |
Selection checklist: Compare measured lumens rather than LED count, check runtime at the brightness level you will actually use, verify the battery replacement or charging method, and choose a light with a backup power option suitable for the expected outage duration.
Note: Actual performance varies with battery capacity, temperature, light mode, battery age, and charging conditions. For permanently installed emergency lighting, confirm applicable local electrical, fire-safety, and building-code requirements.